Seeing as my dollhouse is modern style, I wanted my toilet to be 'floating' or 'wall hung'.
For some reason I have got into carving balsa wood, probably because I have accumulated sooooo much of it doing all these dollhouse renovations and I'm getting sick of everything being square!
So tools needed for a modern toilet - a block of balsa wood, this one started at roughly 6cm x 3cm. Remember balsa is very soft wood so it is easy to cut and sand and that makes it my preferred choice of wood to use as you don't need power tools.
Other tools needed are a box cutter, small hand saw, sand paper, pen.
Get out your ruler and briefly measure the area you want the toilet to be placed to get an idea of the overall size. My toilet is going to be about 3cm x3cm square and about 2cm in height.
I googled modern toilets to get an idea of a shape I wanted to use. I then briefly sketched a pattern onto the outside of the wood block.
Try and use a handsaw to cut off as much excess wood as possible. Then with the box cutter start by cutting off the corners to make more of a curved corner.
I started with a 'back' on the toilet but went a bit crazy with the craft knife and accidentally cut if off. I should have cut the back in with my hand saw....
Once you have cut most of the wood away you can use a corse sandpaper to even out all the bumps. I find it easier to hold the sandpaper on the bench and rub the wood over the sandpaper. If the sandpaper is flat on a bench it sands more evenly. Course sandpaper can leave big scratches so be careful not to push too hard. Once you are happy with the shape finish off with a finer sandpaper to give a nice smooth finish.
This is how I will mount it after I have painted it with some white paint. I will add finished photos when the bathroom is complete.
Wednesday, 31 August 2016
How to make a modern miniature side board
You will need, a handsaw or a box cutter, sandpaper and wood glue.
Firstly cut your piece of wood to size. In theory it would be a lot easier if you used a square block of wood, but I only had this long skinny piece so I cut 3 strips the same length. I clamped and glued the 3 pieces of wood together to get the shape and size I wanted.
Next use a metal ruler and run a box cutter or a hand saw over the lines you have drawn. Be careful to go slowly so that the saw does not 'jump' and mark the wood beside where you want to cut. You want the cuts to stand out, so don't be shy- make a fairly deep cut.
Next I folded a piece of sandpaper (120 grit) in half and used this to deepen and even out the cuts in the wood. (Photo below)
Once you have finished making the cuts, give the whole cabinet a final sand to remove any pen marks or scratches.
This photo shows how I have folded the sandpaper in half and used it to make the lines deep and even.
Make sure you keep refolding the sand paper regularly as it wears out quite quickly and won't give a nice clean straight line.
Finally add some legs. I made two small rectangles and sanded one corner down to give it a different look. But you can quite easily just cut a a rectangle slightly smaller that the base of the cabinet and just sit it on that.
Sunday, 10 July 2016
How to make a miniature industrial style bookcase
You will need the following:
- Balsa wood
- Good quality balsa/craft glue
- box cutter
- BBQ skewers (optional)
I started by painting a strip of balsa with my brown stain (small dot of brown craft paint diluted in water).
I will use this piece for my shelves.
This bookcase is best suited for 1:12 scale.
When finished it measures 15cm high by 12cm wide. Measure the space you want to pace the bookshelf first as you may want to make your bookshelf smaller or larger.
First cut 4 shelves. Each shelf is 12cm long by 3cm wide.
Cut 4 sides. I just sliced small sections from a a balsa board (see left side of picture above). The sides measure .5cm by 15cm high.
Use the side rails as an indication to 'notch' small holes in each corner of the selves. (as shown in the picture on the left).
I found the easiest way to put it together was to lay it down on my cutting board, use the grid on the cutting board to ensure the bookshelf is straight.
Lay the sides down first on the cutting board 12 cm apart (or as wide as you make your shelf).
Place a small spot of glue in each corner and using the cutting board grid to help you get the shelves straight start glueing the shelves to the sides. I just spaced mine randomly but you have certain objects you wish to place on the shelves such as books or a TV then you can measure the distance between each shelf to ensure your decorative items fit in. Once you have glued the shelves to the bottom two legs you can glue the front 2 legs on. Check again with your cutting board that the shelves and sides are all straight and if the glue is tacky enough to hold the bookcase together stand it up. This will ensure that it will stand firmly on the ground once dry ... and if it doesn't you can always glue it to the wall or use some blu-tac!!!
You will need the following:
- Balsa wood
- Good quality balsa/craft glue
- box cutter
- BBQ skewers (optional)
I started by painting a strip of balsa with my brown stain (small dot of brown craft paint diluted in water).
I will use this piece for my shelves.
This bookcase is best suited for 1:12 scale.
When finished it measures 15cm high by 12cm wide. Measure the space you want to pace the bookshelf first as you may want to make your bookshelf smaller or larger.
First cut 4 shelves. Each shelf is 12cm long by 3cm wide.
Cut 4 sides. I just sliced small sections from a a balsa board (see left side of picture above). The sides measure .5cm by 15cm high.
Use the side rails as an indication to 'notch' small holes in each corner of the selves. (as shown in the picture on the left).
I found the easiest way to put it together was to lay it down on my cutting board, use the grid on the cutting board to ensure the bookshelf is straight.
Lay the sides down first on the cutting board 12 cm apart (or as wide as you make your shelf).
Place a small spot of glue in each corner and using the cutting board grid to help you get the shelves straight start glueing the shelves to the sides. I just spaced mine randomly but you have certain objects you wish to place on the shelves such as books or a TV then you can measure the distance between each shelf to ensure your decorative items fit in. Once you have glued the shelves to the bottom two legs you can glue the front 2 legs on. Check again with your cutting board that the shelves and sides are all straight and if the glue is tacky enough to hold the bookcase together stand it up. This will ensure that it will stand firmly on the ground once dry ... and if it doesn't you can always glue it to the wall or use some blu-tac!!!
For extra decoration and to make it look more industrial, I used 2 BBQ skewers crossed over on the back of the bookcase. It also make it a little more sturdy. Wait until it has completely dried before decorating the shelves or otherwise you run the risk of the shelves moving.
Saturday, 25 June 2016
How to make a modern miniature shower head
You will need:
- 5mm round dowel
- square dowel or scraps of dowel
- box cutter
- bottle top
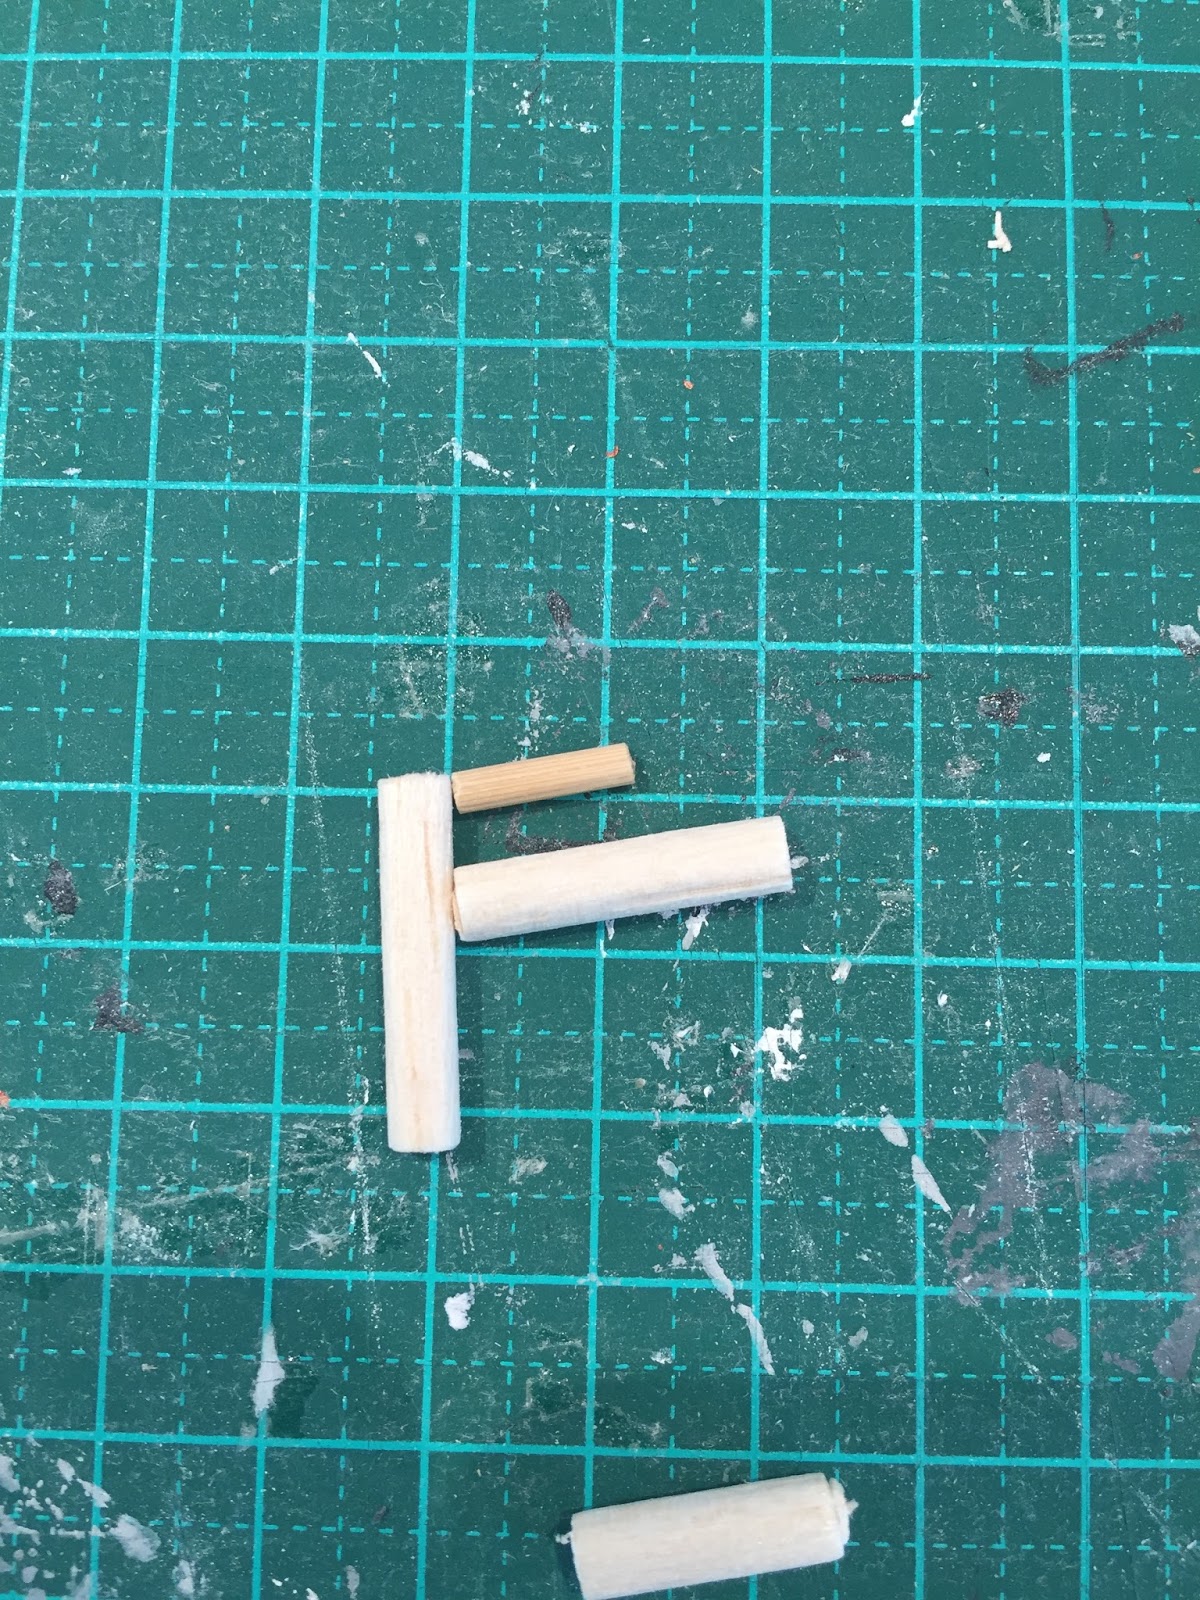
First of all I made the shower head. I just cut two pieces of dowel into oblong shapes.
Glue the shower head together using a good quality balsa/craft glue. Once dried I used sandpaper to sand all the sides down to make it look 'rounder'.
Next move onto the waterfall shower head. I already had a precut round piece of balsa wood. You could either trace around a bottle top and cut out a piece of balsa or you could use a plastic bottle top.
Cut some sections of round dowel to construct the shower rail as show in the picture below.

- 5mm round dowel
- square dowel or scraps of dowel
- box cutter
- bottle top
First of all I made the shower head. I just cut two pieces of dowel into oblong shapes.
Glue the shower head together using a good quality balsa/craft glue. Once dried I used sandpaper to sand all the sides down to make it look 'rounder'.
Next move onto the waterfall shower head. I already had a precut round piece of balsa wood. You could either trace around a bottle top and cut out a piece of balsa or you could use a plastic bottle top.
Cut some sections of round dowel to construct the shower rail as show in the picture below.
Modern Miniature Bathroom Sink
You will need
- Balsa wood
- Cardboard tube
- Craft glue
- Box cutter
Cut two sides out of balsa wood approx 4cm x 4cm
Cut top and bottom out of balsa wood approx 8cm x 4cm
On this cabinet I tried to mitre the edges to that it fits together seamlessly on the corners. I just rubbed the corners across sandpaper to get an angle on the edge. But the cabinet can be joined easily without changes the corners.
Cut a small section from your cardboard tube. My cardboard tube is the inner from a roll of garbage bags.
Glue your cabinet together using a good quality balsa/craft glue and allow to dry.
Once dry you can paint the cabinet. I like to stain the balsa wood light brown. I use just a tiny spot of brown acrylic paint and mix it with about 50ml of water.


Its best to paint some test wood first to see what colour you like. Once the stain dries you can do another coat if you want to make it darker.
Paint the cardboard tube white to make a basin and add a tap. (Details to make a tap can be found here)
- Balsa wood
- Cardboard tube
- Craft glue
- Box cutter
Cut two sides out of balsa wood approx 4cm x 4cm
Cut top and bottom out of balsa wood approx 8cm x 4cm
On this cabinet I tried to mitre the edges to that it fits together seamlessly on the corners. I just rubbed the corners across sandpaper to get an angle on the edge. But the cabinet can be joined easily without changes the corners.
Cut a small section from your cardboard tube. My cardboard tube is the inner from a roll of garbage bags.
Glue your cabinet together using a good quality balsa/craft glue and allow to dry.
Once dry you can paint the cabinet. I like to stain the balsa wood light brown. I use just a tiny spot of brown acrylic paint and mix it with about 50ml of water.
Its best to paint some test wood first to see what colour you like. Once the stain dries you can do another coat if you want to make it darker.
Paint the cardboard tube white to make a basin and add a tap. (Details to make a tap can be found here)
Friday, 24 June 2016
How to make modern miniature taps
To make a modern miniature tap, I used:
1. Round dowel (5mm) but you could use a paper straw (not plastic as you will not be able to paint it).
2. BBQ skewer
3. Craft glue
First step is to cut 2 pieces of dowel. One for the base of the tap and the second for the 'tap' part. I started with both pieces being 3cm but you can trim them down to suit the size of your kitchen.
Next cut a small piece of BBQ skewer for the tap handle. The two different size dowel and skewer give the effect of a tap.
Lay the pieces out so you can get and idea of scale and how you want it to look.
I used the sharp end of the skewer to make a small hole in the stand of the tap. This will help attach the handle.
To attach the tap onto the base, I folded a piece of sandpaper in half and made a small notch on one end. This is so that the tap will sit nicely on the round dowel of the base.
Glue the handle and the tap to the base, wait until glue dries and then paint either silver or black.
1. Round dowel (5mm) but you could use a paper straw (not plastic as you will not be able to paint it).
2. BBQ skewer
3. Craft glue
Next cut a small piece of BBQ skewer for the tap handle. The two different size dowel and skewer give the effect of a tap.
Lay the pieces out so you can get and idea of scale and how you want it to look.
I used the sharp end of the skewer to make a small hole in the stand of the tap. This will help attach the handle.
To attach the tap onto the base, I folded a piece of sandpaper in half and made a small notch on one end. This is so that the tap will sit nicely on the round dowel of the base.
Glue the handle and the tap to the base, wait until glue dries and then paint either silver or black.
Tuesday, 31 May 2016
Instagram 1k Giveaway Competition
To say thank you to all my followers on instagram, I am running a giveaway competition.
I will be giving away the following little pack of #onebrownbearhomewares together with a set of amazing mini prints from @theprintablestudio!
All you need to do is:
- Follow @onebrownbear and @theprintablestudio on instagram
- Tag a friend and whether you want to win the AU (Australia) or (OS) Overseas giveaway.
AU prize pack (open to Australian residents only) contains:
- 1x Geometric art print set from @theprintablestudio
- 1x Rug
- 2x monochrome vases
- 1x succulent box
- 3x monochrome cushions
- 4x assorted mini books
(bookshelf not included)
OS prize pack (open to anyone outside of Australia) contains:
- 1x Geometric art print set from @theprintablestudio
- Your choice of 2x printables from my Etsy store
Competition closes Sunday 5 June 2016, 5pm AEST. Winners will be drawn on Monday 6th June 2016. You can enter as many times as you like as long as each comment includes a new tagged friend and whether you are AU or OS resident. Winners will be picked randomly and this competition is in no way associated, sponsored or endorsed by Instagram.
Subscribe to:
Posts (Atom)